


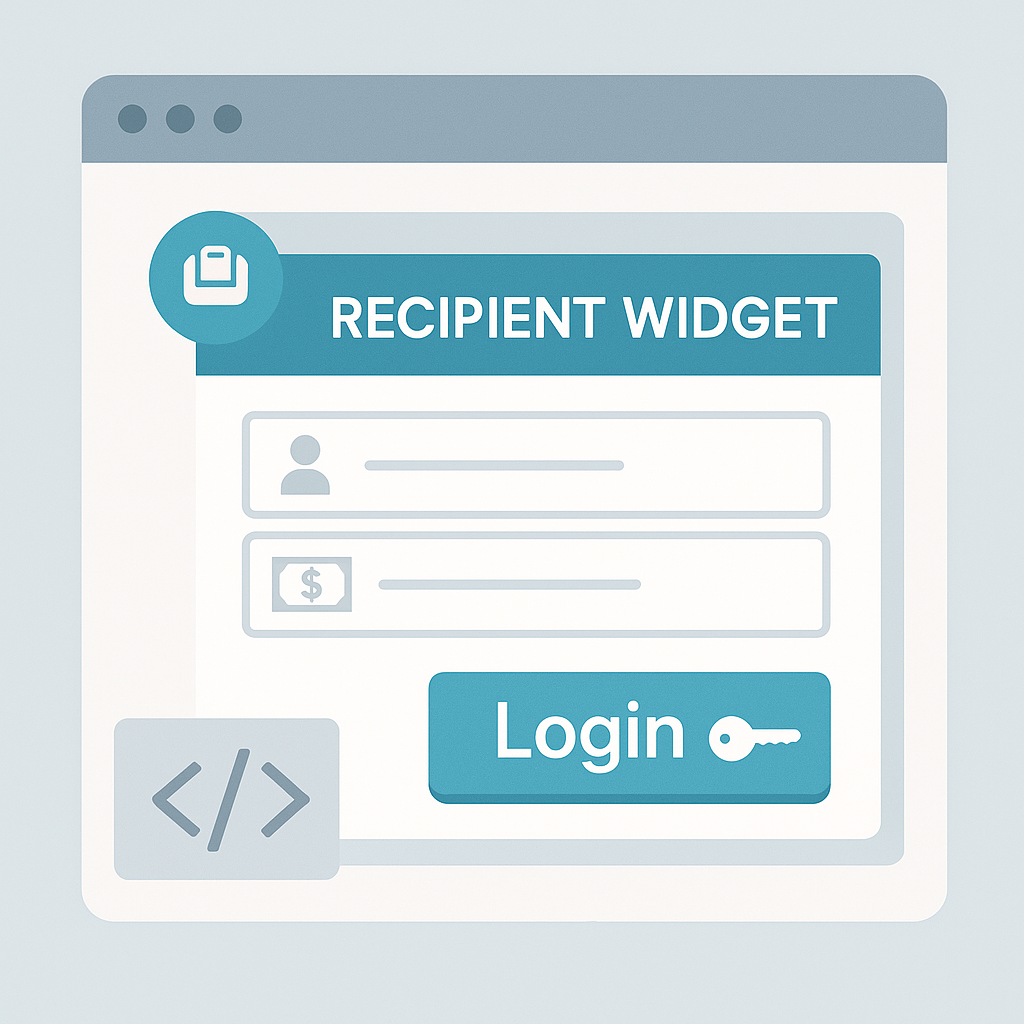
Trolley’s recipient widget makes it easy for businesses to onboard recipients and collect payout details directly within their own platform. With just a few lines of code, you can embed a secure, fully responsive widget into your website or mobile app—giving your users a seamless onboarding experience while you leverage Trolley’s global payout infrastructure.
Looking for an integration-free, codeless setup? Check out our recipient portal.
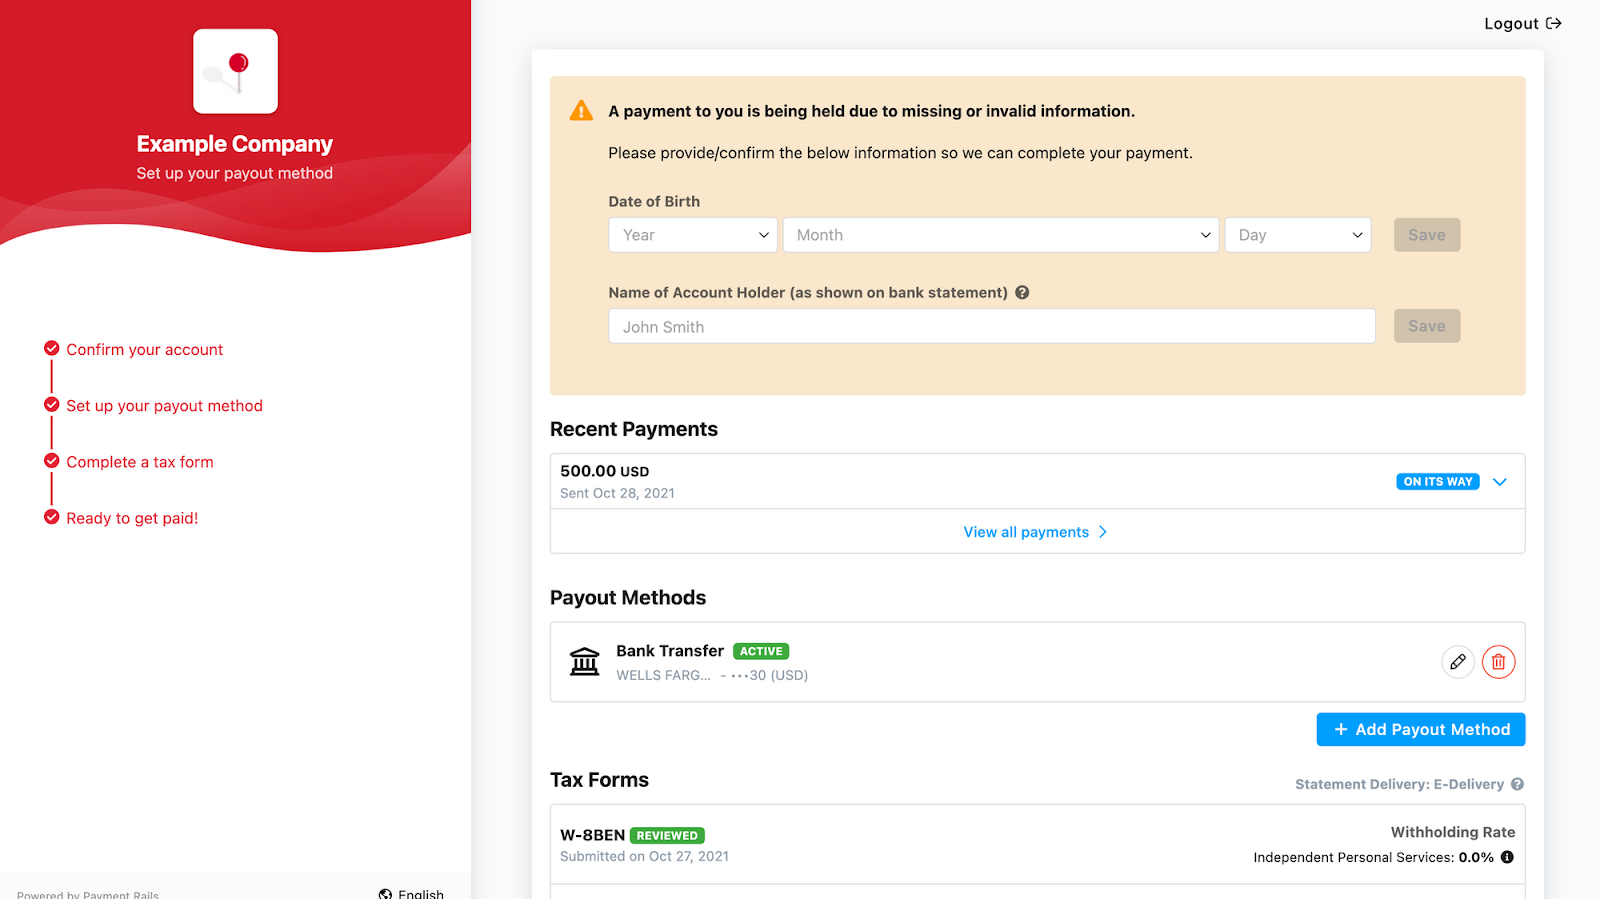
How it works
Simply copy and paste the iframe widget code into your platform, and Trolley handles the rest. The recipient widget securely collects all required payout information (name, address, banking details) and includes a built-in real-time bank account validation engine to reduce errors.
Behind the scenes, the widget connects to Trolley’s payout engine, ensuring sensitive data is encrypted, tokenized, and compliant with global banking rules.

Key benefits
- Quick setup: Add the widget to your site or app in just minutes with minimal integration effort.
- Fully branded experience: Customize the look and feel of the widget with your colors and logo, and deploy it on your domain to maintain a consistent onboarding flow.
- Secure and compliant: All data is managed through Trolley’s infrastructure with bank-level encryption, tokenization, and global compliance built in.
- Full control over authentication: Decide how recipients or users authenticate before submitting payout details, giving you flexibility over the verification and login flow.
- Modularized onboarding: For multi-product businesses, tailor the experience to your needs—whether you require only ID verification, only tax collection, or full end-to-end onboarding.
How to get started
- Set up branding & white-label emails
Configure your logo, brand colors, and support email address in Settings > White Label and enable white-label emails in Settings > White Label > Emails. - Enable and customize the widget
Go to Settings > White Label > Widget & Portal. Switch on the recipient widget and enter the URL for your widget. Next, select the features that you would like to enable—for example, displaying recipients’ payment history or including a link to your FAQ page. - Copy & paste the iframe code
Select your coding language, then copy and paste the widget snippet into your website or app. - Configure variables
Add your API Key, API Secret, recipient’s email, and optional internal reference ID.
You’re now all set to onboard recipients!
For a more detailed setup guide, read our help center article on configuring the recipient widget.